Homemade Sauerkraut with Juniper and Caraway

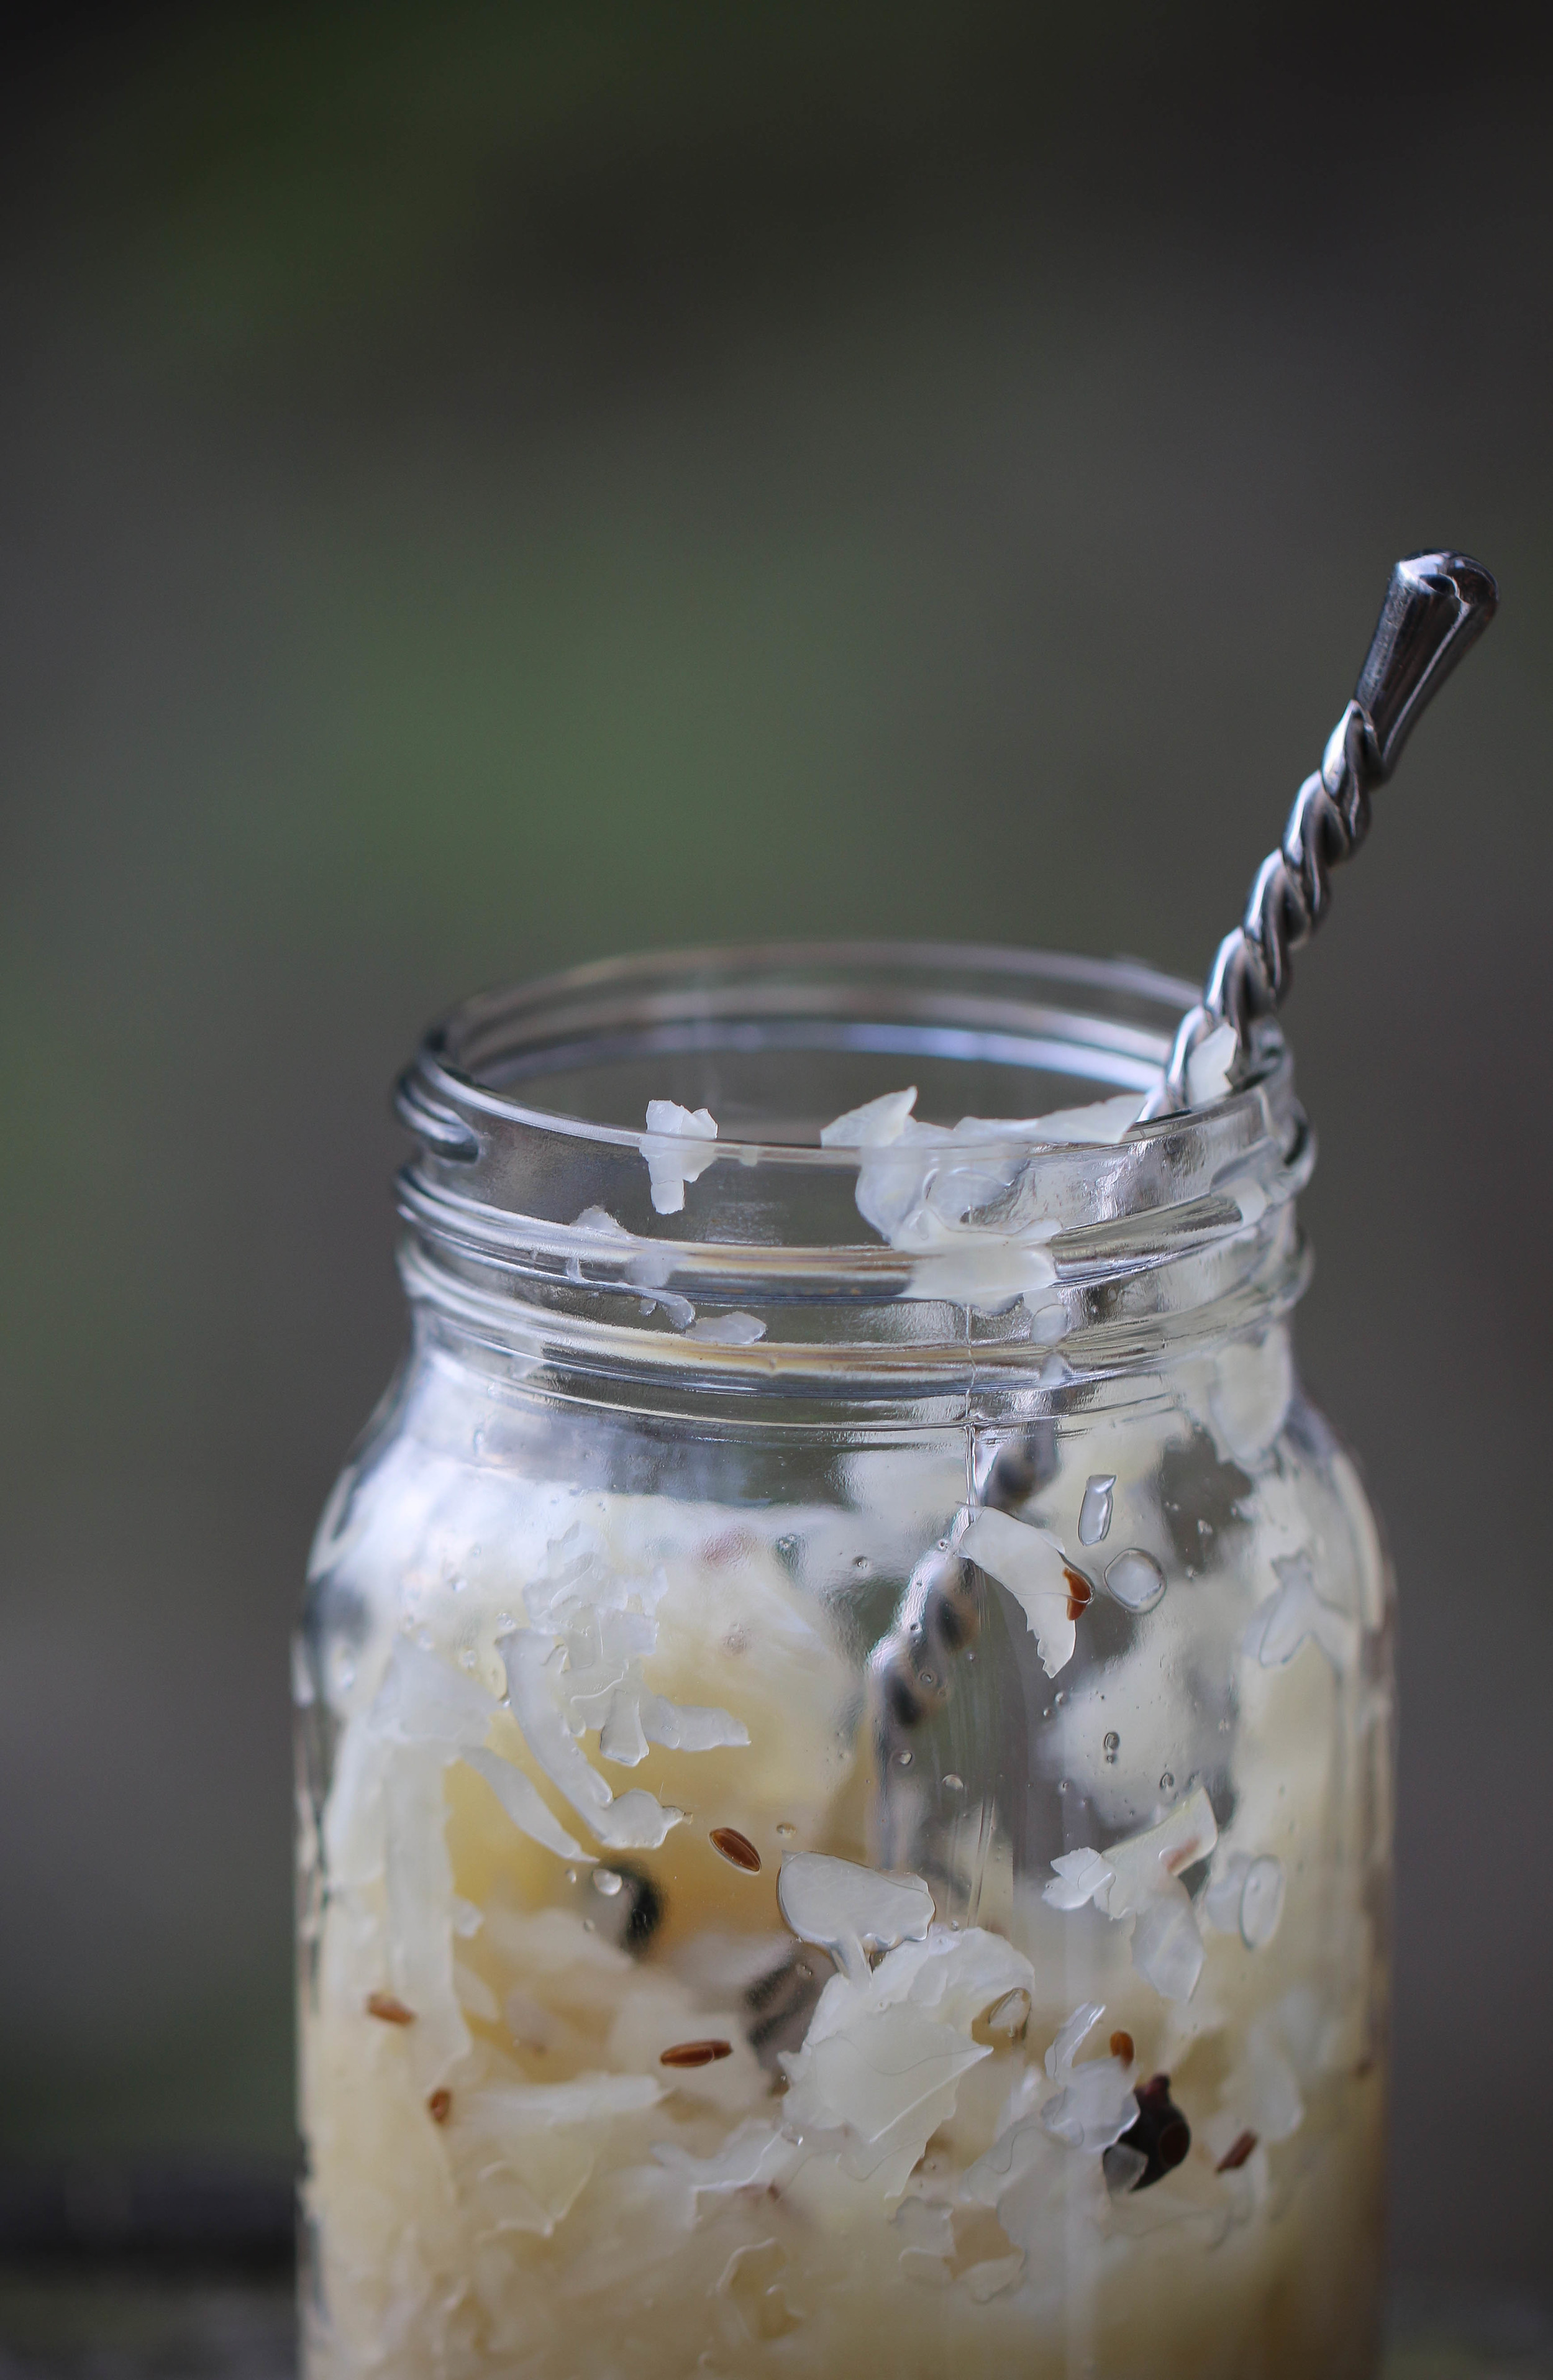
There is something magic about fermentation. Take two humble ingredients (cabbage and salt in this case), combine in just the right way with a hint of spice, shepard the development of specific microorganisims, and a week later you end up with a completely transformed product. The cabbage has softened in texture and flavor, the harsh sulfur notes in fresh cabbage have been rounded out and enlivened with a bright crisp sourness, with hints of earthy, piney spice. Sauerkraut is a traditional comfort food for many people and a health food for others. It is rich in vitamins and minerals, and (if unpasteurized) loaded with health-giving micro-fauna. It is equally at home slow cooked with pork or piled on a hot dog, added to tacos or eaten straight out of the jar.

Homemade Sauerkraut with Juniper and Caraway has only 4 ingredients: cabbage, salt, juniper berries, and caraway seeds. Your role in sauerkraut production is not to cook, but to create and sustain the perfect micro-environment for your bacteria to work their magic. If this freaks you out, please know that this is not rotting or uncontrolled spoilage we are talking about here. What you are doing is the same type of micro-fauna culturing that is done in sourdough breads, cheeses, yogurts, beers, and cured meats. We are creating an environment where just the good guys can do their thing, and the bad bugs are kept at bay. While it does take some care, this is an incredibly safe and easy process. If you are interested in learning more about fermenting I would highly recommend The Art of Fermentation by Sandor Katz. It is a great read, and his advice and proportions form the foundation of my approach.

In the case of Homemade Sauerkraut with Juniper and Caraway we have three things to help ensure your first batch (and every future batch) is a success:
- Cabbage leaves, thankfully, are home to the perfect mix of microorganisms (namely lactic acid producing bacteria) to jump start your culture and allow for a near perfect wild ferment every time.
- Salt is not only delicious, but in the right proportion draws out liquid from the cabbage to form its own brine and creates a micro-environment that only favors exactly the types of microorganisms you want to be growing (and keeps the bad guys from getting a toehold).
- Juniper berries and caraway seeds add beautiful flavor, but they also are anti-fungal and help to keep mold, yeast, and other microorganisms from growing that could ruin your developing kraut's flavor.
So if you're ready to roll up your sleeves, lets get to it. Start by planning ahead. Temperature effects the rate of fermentation (i.e. how quickly your kraut will be finished). Ideally, the room you will be fermenting in averages about 65 degrees. In that temperature, I've found the kraut finishes in about 7-9 days. If it is colder, say 55 degrees, you are likely looking at two weeks. If its 80 degrees on the other hand, think more like 3 days. Note that throughout fermentation you will need to check your kraut every day, skim off any cabbage bits that have floated to the surface, and taste the kraut to see how it is developing. This will take you less than 5 minutes per day, so it not a big deal. But just know you can't start your kraut and go away for the weekend.

Once you've decided when to ferment, select the best cabbage you can buy. We usually head to the farmers market and pick out the best looking specimens available. Organic is especially nice in this case, because you are not washing the produce and you need a flavorful plant with healthy microorganism. For this batch, we bought 3 huge beautiful cabbages from Clarion River Organics, about 20 pounds total, that had been wintered over in their traditional ice rooms. I've scaled down this recipe for a single large 6 1/2 pound cabbage. Now that you have your cabbage(s), we can jump into the recipe. If you do bigger batches just scale up the recipe in proportion to how many pounds of cabbage you have.


Ingredients:
- 1 large cabbage, about 6 1/2 pounds
- 1/3 cup plus 1 tablespoon kosher salt (55 grams)
- 1 tablespoon juniper berries
- 1/2 tablespoon caraway seeds
Steps:
- Take off any wilted or discolored outer leaves from the cabbage. Slice the cabbage through the stem into quarters. Cut out the hard triangle shaped core from each quarter. Thinly slice the cabbage (see photo below). This is quickly accomplished on a food processor with slicer attachment or on a mandolin. You can also do it by hand with a long sharp knife.
- Once the cabbage is sliced, put it into your fermentation vessel. Ideally you have a clean food-safe traditional crock laying around, but you can also use a food-safe plastic tub. It should be taller than it is wide, and easy to clean and cover. Make sure the fermentation vessel is totally clean and dry before starting. Also, don't use metal...it could easily rust in the acidic and salty brine.
- Add the salt and spices to the sliced cabbage, and with clean hands firmly squeeze and mix it into the cabbage. This is hard physical work. You are working the salt into the cabbage, and wringing out the liquid. The juice pulled from the cabbage will form the brine in which the cabbage ferments. The photo below shows me wringing out the cabbage, and at this stage...when it is dripping wet, you are almost done. You are finished when you can press the cabbage below the surface of the liquid by at least a 1/2 inch. Be patient, this mixing, kneading, squeezing, and wringing can take 5-10 minutes.
- Now you need a weight to keep the fermenting cabbage below the surface of the liquid. I use a 1 gallon zip-top bag filled with water. Other people use a heavy plate. Your choice of weight will depend on the shape and size of your crock. Any cabbage pieces above the liquid are vulnerable to spoilage...which both looks and tastes bad, so the weight should fit relatively tightly and be heavy enough to keep the cabbage submerged.
- Cover the whole crock with a loose fitting lid or tea towel to keep nasty things like flies out. Allow the crock to sit until the next day.
- Each day during fermentation you will do three things: push down the weight to release the many carbon dioxide bubbles that will have formed as the kraut ferments; use a spoon to skim off any bits of cabbage (and foam) that have floated to the surface; and taste the kraut. The sauerkraut is perfectly safe to eat at each stage in fermentation, and it is helpful to see how the flavor and texture develop. If you like your kraut milder and crisper, ferment less. If you like it tangier and/or softer, ferment a little longer. The perfect fermentation, is the one that results in the product you like most.
- When the kraut stops making carbon dioxide bubbles, it is likely done fermenting. In normal room temperatures (about 65 degrees) this is likely 7-9 days. Taste the kraut each day along the way. When it is just the way you like it, it is time to can.
- This step has many options, depending on how quickly you will use the kraut. If you want to keep it 6+ months, then I would recommend heat canning it. This kills the microorganisms, and provides for longer shelf-life. There are many places to find easy to follow instructions on heat canning. The cons of this approach are: it kills the microorganisms which have health benefits; it flattens the flavor; and it softens the kraut. Our preferred method is to use canning jars, a vacuum sealed lid system, and store in the refrigerator until use. The vacuum and cold temperature halts fermentation and allows it to keep for up to 3 months. You can also just put the kraut into jars, screw on a lid and refrigerate. It will likely stay good at least 1-2 months.
- Homemade Sauerkraut with Juniper and Caraway is ready to enjoy!


Marinated Feta with Rosemary & Juniper
This past weekend we had our first outdoor dinner party of the season and I had an edible centerpiece in mind while concocting this marinated feta with rosemary and juniper. This dish captures the soft light and open skies of an evening in early spring. Marinated feta is a fresh take on a cheese course that delivers a surprising burst of lemon and woodsy flavor to salty cubes of feta. We served marinated feta as an accompaniment to Paul's grilled Greek chicken and vegetables. The leftover feta, which grows more flavorful as it sits, can be added to grain dishes, mixed into omelets, pureed into dips or stuffed into veggies. The olive oil and herb mixture made a tasty addition to a salad vinaigrette, and would be delicious on pasta or used to sop up with crusty bread.

Homemade Creme Fraiche
Silky, tangy, rich, and tart without being either sour or cloyingly heavy -- Homemade Creme Fraiche is extraordinary. It can be used in place of sour cream as a condiment, as an ingredient in dishes as diverse as velvety cooked sauces, salad dressings, or ice creams (stay tuned for a Lemon Balm Creme Fraiche Ice Cream). Or...it can be eaten straight or on cereal for a true breakfast of champions (don't tell Rebecca).

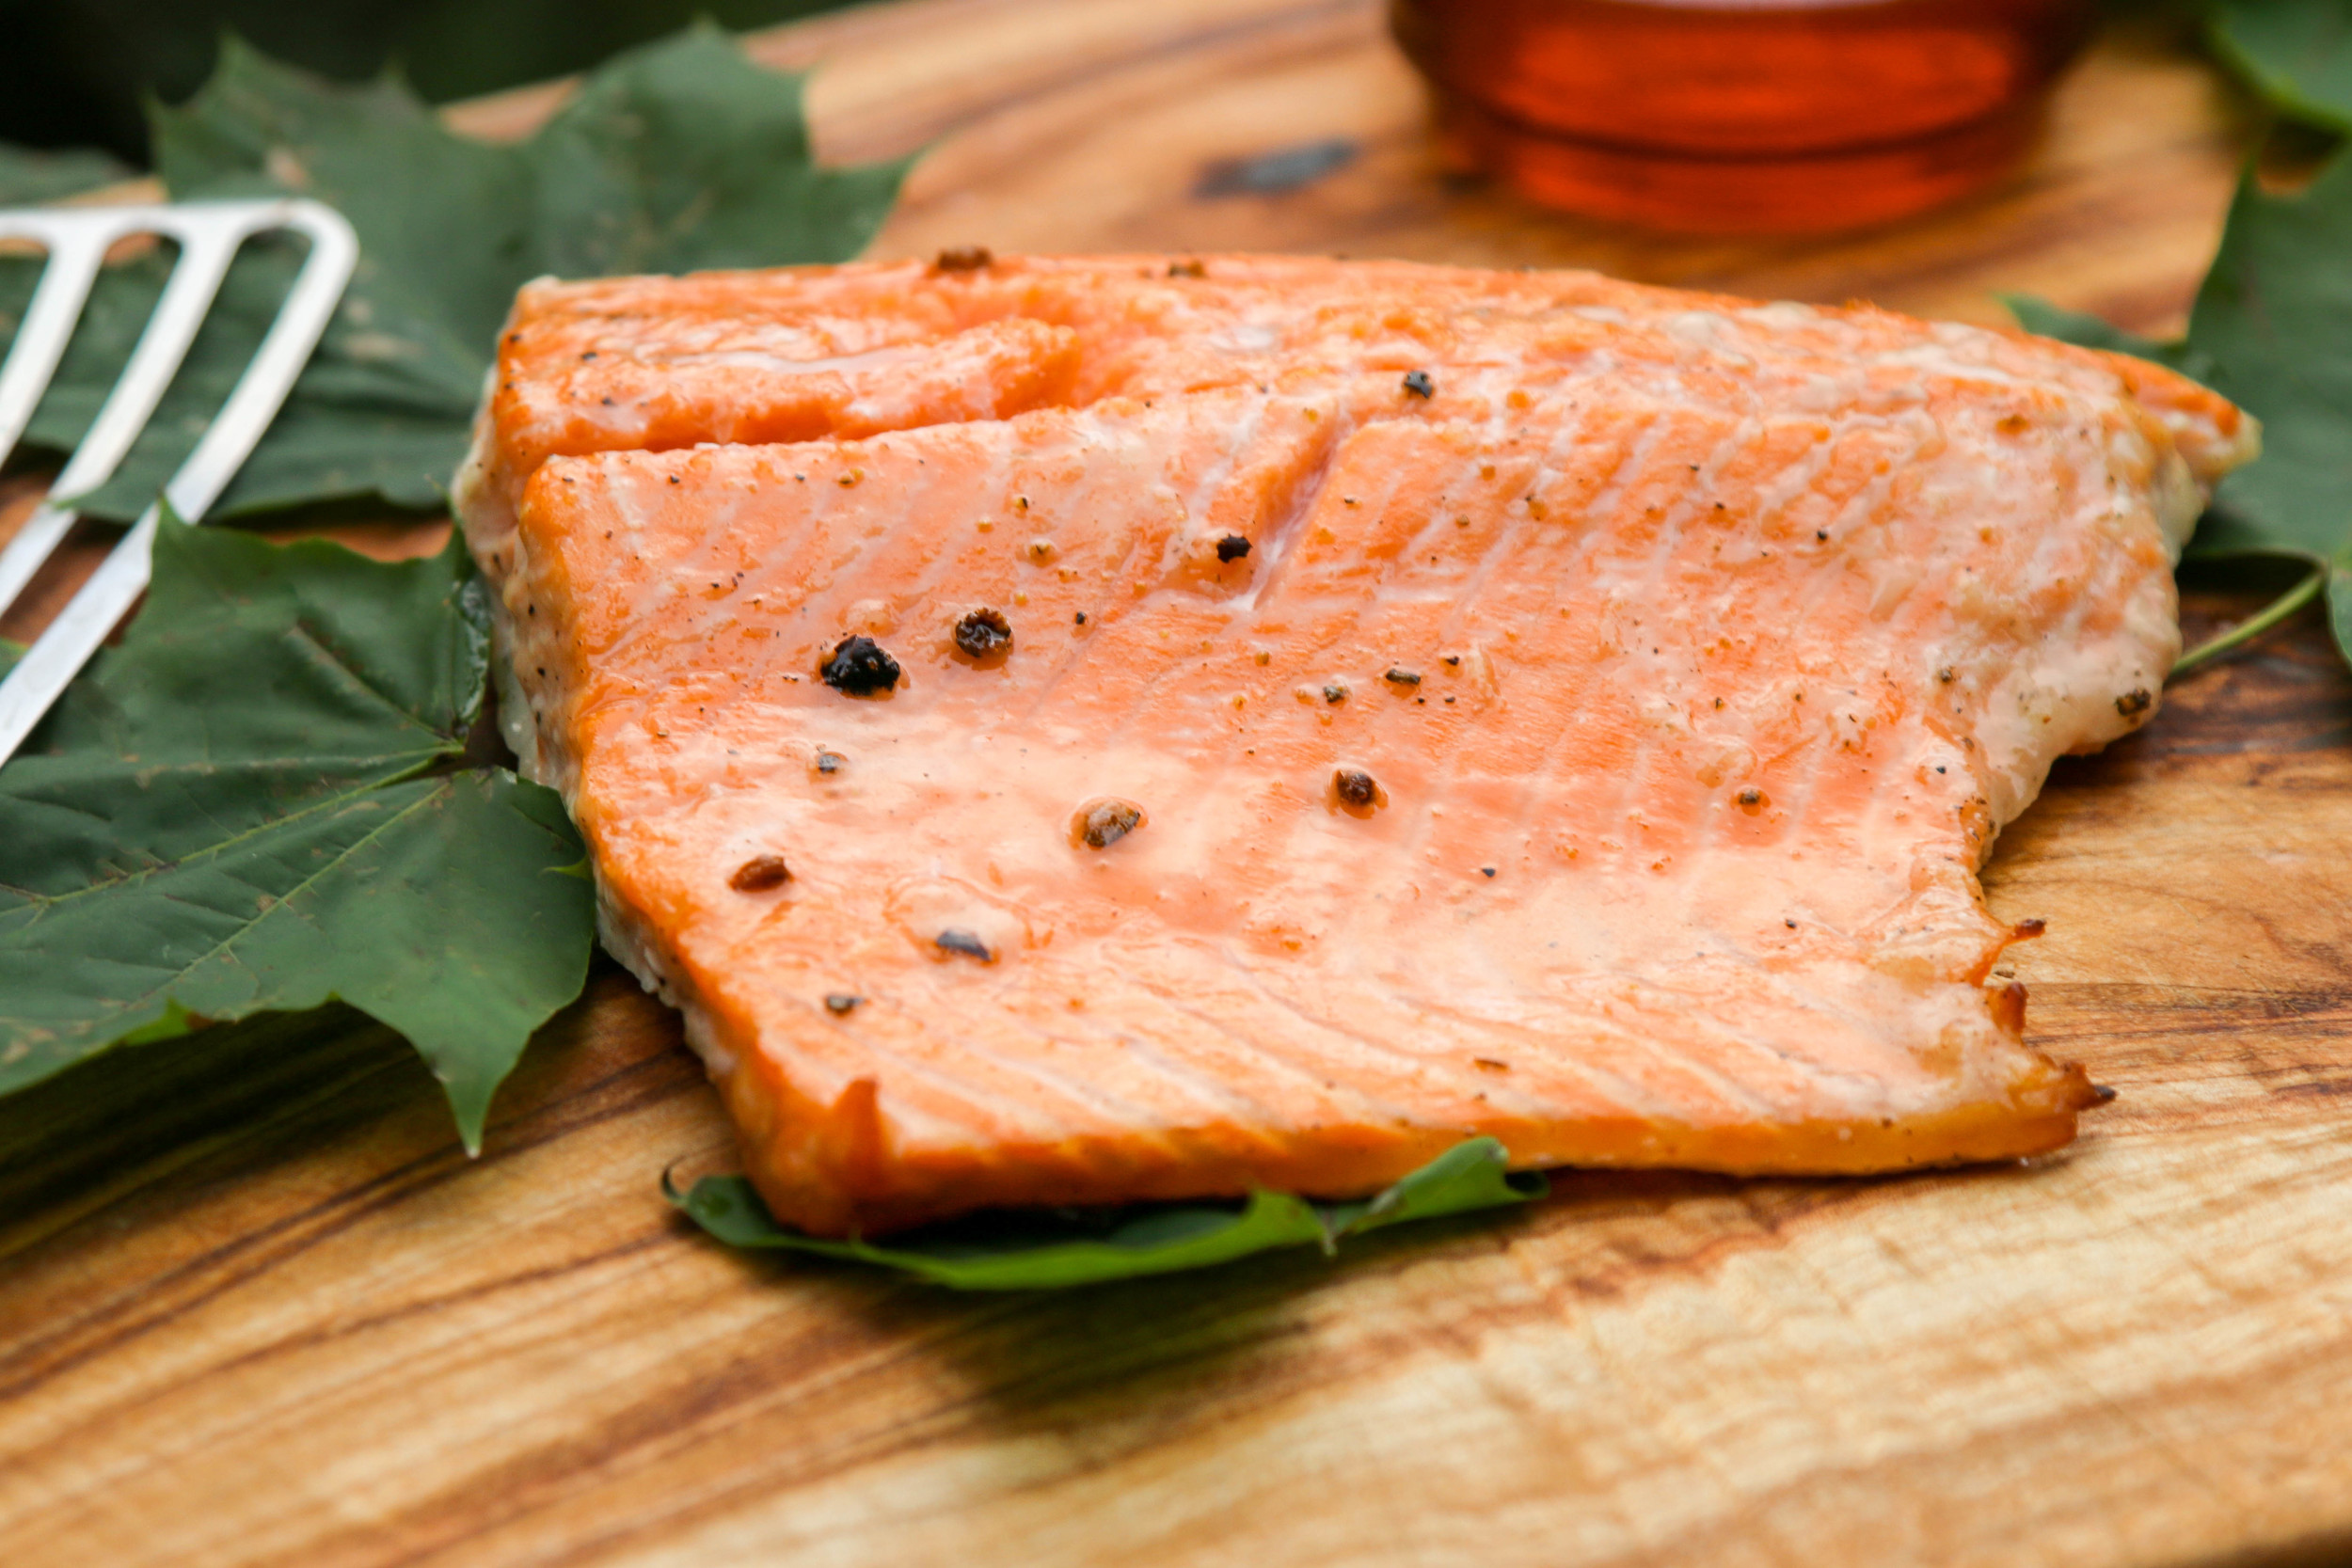
Maple Juniper Smoked Salmon
Fish cookery and smoked foods don't have to be labor intensive and intimidating. Our recipe for Maple Juniper Smoked Salmon uses a simple Native American technique to easily bring lightly smoked, delicately cooked, flavorful salmon to your table (and impress your wife with your pioneering skills)! For those of you with maples growing in your backyards, its time to break out the clippers! The fish is grilled on a bed of freshly cut maple twigs and leaves, which allows the fish to gently cook while wrapping it in aromatic smoke. The glaze uses juniper and maple syrup to produce a subtle sweet and piney flavor. When buying fish, we try to make sure it is sustainably harvested (or farmed). Ask at your local seafood store, they are usually very knowledgeable. This recipe is based on one of my favorite cookbooks: Food of the Americas: Native Recipes and Traditions by Fernando and Marlene Divina. If you are interested, check out some of our other seafood recipes.
Red Cabbage Sauerkraut with Apple & Clove
I love sauerkraut, and this is one of my seasonal favorites. The red cabbage, apples, cloves, and black pepper lend it color and warm fall flavors. Homemade sauerkraut is easier than you think, and it is incomparable to the stuff you can buy in the grocery. For a longer discussion of fermentation technique and background, check out our Homemade Sauerkraut With Juniper And Caraway. For this batch I used a beautiful stoneware crock made by our good friend Colin Dyck at Mudslide Stoneware. These traditional European-style crocks are both gorgeous and practical, including a water-lock for fuss-free fermentation. For my all-time favorite use of sauerkraut, check out our Reuben Sandwich.

French Cabbage Soup, Garbure Gasconne
Blustering snow and icy rains found us craving a hearty soup this week. Gazing down the steep cobblestone hills winding down from our house, we opted for caution, and a pantry raid, in favor of driving. For our winter-storm-fare, we dunked homemade sourdough bread in aromatic bowls of French Cabbage Soup, and dreamed of beaches! Our recipe for French Cabbage Soup, Garbure Gasconne, is a modified version of this delicious cabbage soup from the French region of Gascony. This soup smartly employs steaming and simmering techniques to gently extract the delicate flavors from winter root vegetables. French Cabbage Soup is a warming vegetable soup with a depth of flavor that far exceeds its humble ingredients.
